From the FB DIY Tank group we read:
About 20 years ago…2006-2007 I built this tank, which worked great for about 2 years, before I moved and took it down.
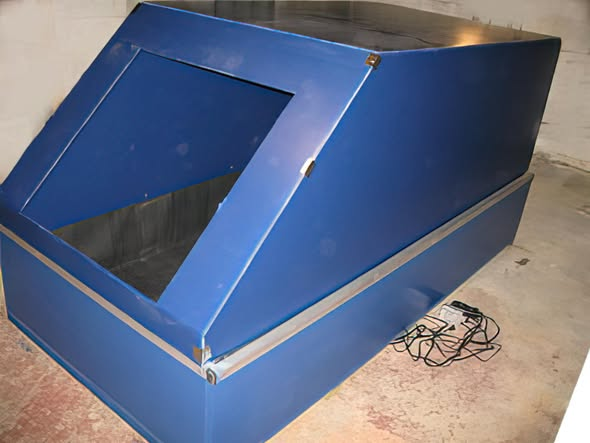
I adopted the Samadhi tank design – pretty much going off of whatever pics I could find on the net and went from there.
The base was IIRC about 18 inches tall, made from industrial grade MDO plywood, 1-3/8″ thick. About the same thickness as 2 layers of your typical 23/32″ big box store plywood, laminated together…but this stuff is all one thickness.
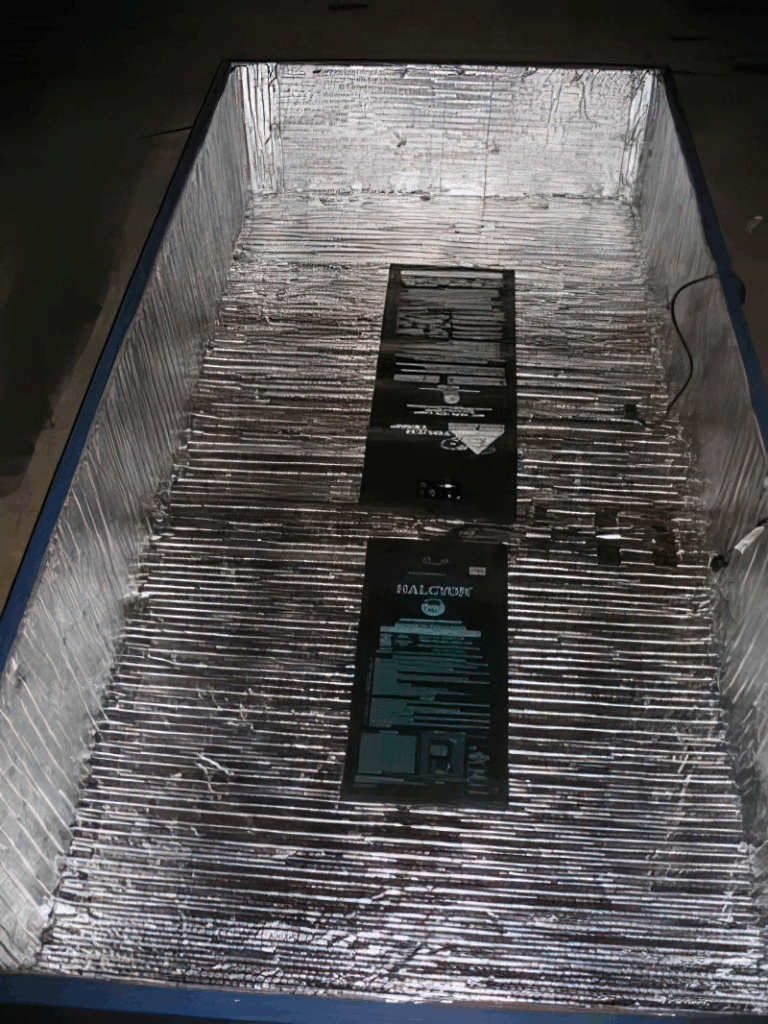
IIRC it was 44 inches wide and 92 inches long. I painted the plywood just to seal it. Inside the lower plywood tank, I lined it with Reflectix double bubble radiant “insulation” to help retain the heat. I used two hardside waterbed heaters each with their own controller. Towards the end, one of them died and I was only running on one. I just taped the wiring to the reflectix and ran it up the side, behind the liner.
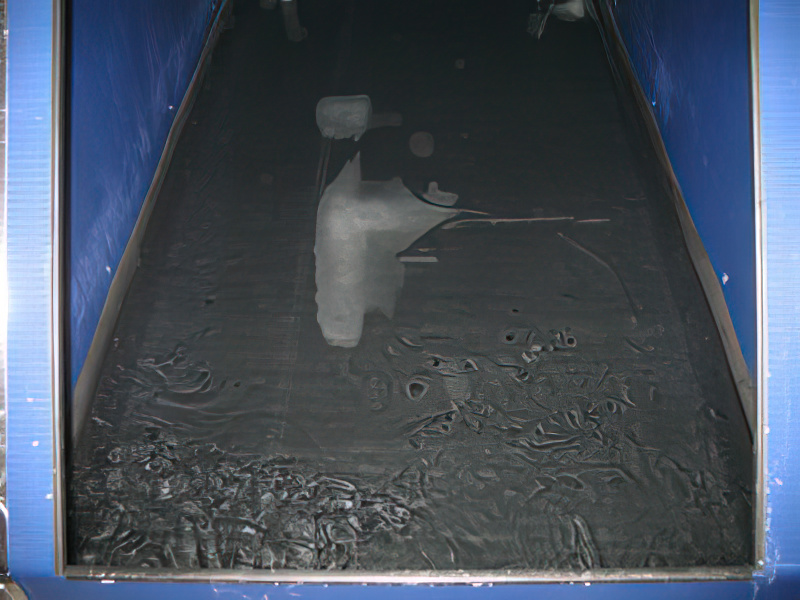
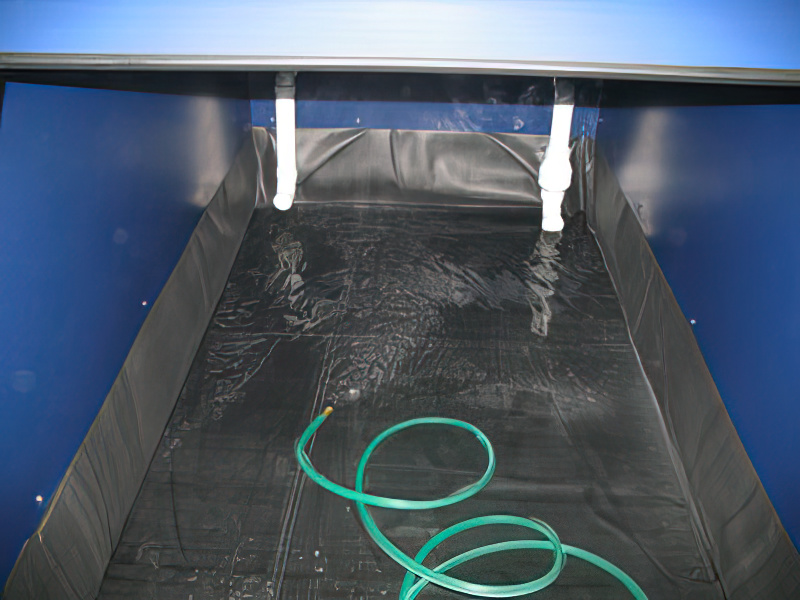
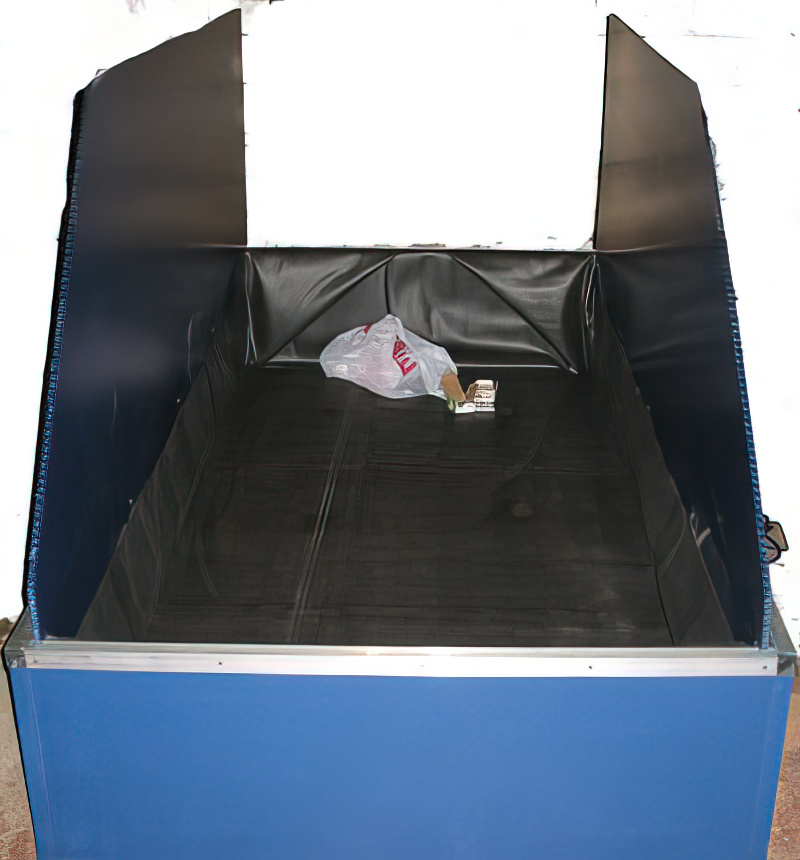
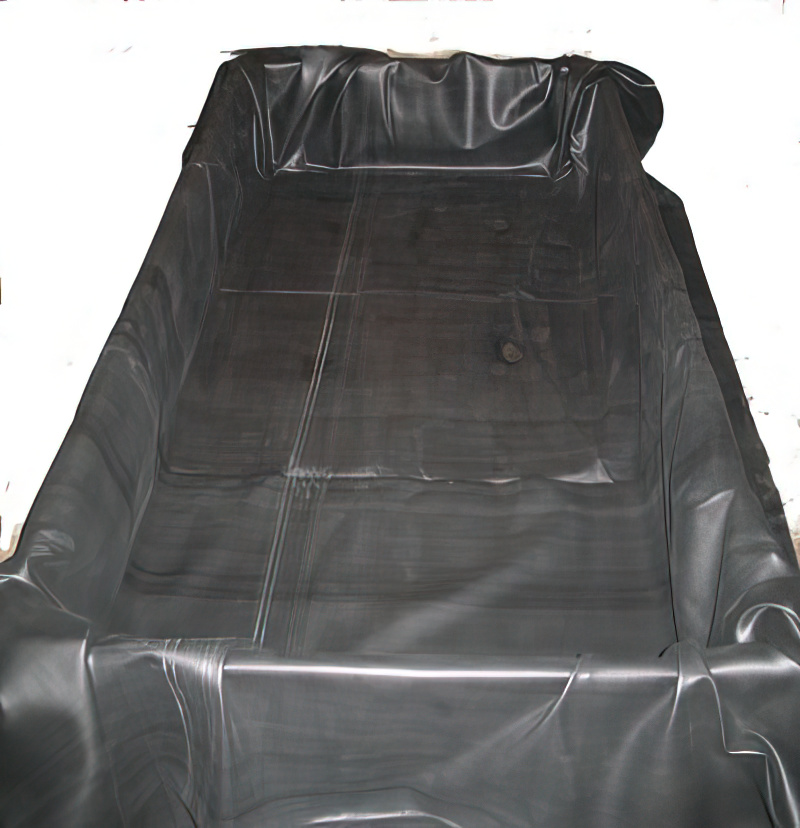
The liner was 45 mil Firestone pond liner. I bought way more than I needed and it was way heavier than I imagined it would be when I got it. It had a seam running down the center, which I wasn’t exactly happy about, but it seems to be pretty common with them. Luckily I didn’t have any leaks from the liner, so it held up pretty well for 2 years of service. I just draped it into the plywood lower tank and then “gift wrapped” the corners as well as I could to make it look neat. It is nearly 1/16″ thick rubber, so…it’s only so conforming. At the top of the plywood, I held the liner in place using aluminum angle L pieces, screwed thru the liner and into the plywood. I never had a problem with it drooping or coming undone.
The top of the tank was made out of 10mm coroplast, corrugated/fluted polypropylene plastic. It’s similar to the thinner stuff they make those cheap political signs out of…but it’s much beefier. I made a notch at the bottom of the side panels so they’d rest on the plywood and screw the sides into the plywood through the liner using stainless deck screws. I used foil HVAC tape to join all the pieces and seams. The top had like a 3 degree angle towards the back to let condensation drip towards the back and not on me while in the tank. I don’t think I put any taper on the side wall panels, but either way, dripping was not a problem.
The front door was also made out of coroplast and I made a “living hinge” by just cutting one side of the coroplast flute so it would use the intact skin as a hinge. After all was said and done, I covered the entire tank in Reflectix to help retain heat.
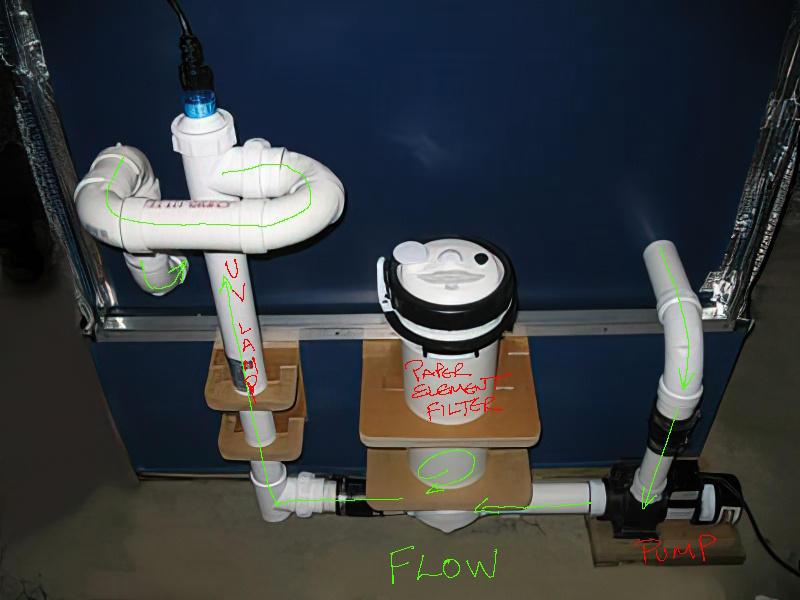
As for the mechanicals, I used a spa pump with a carbon shaft seal…bad idea, as the magnesium sulfate (carbon loving) ate it up after about a year. This caused it to spring a leak which was not fun to deal with. I also used a spa “paper” element filter to capture hair etc and then a UV light to sterilize the water before it was returned to the tank. I put a foot valve on the inlet side, which kept the pump primed and stopped it from dripping when water drained back after pumping. Regular old FloTec 2″ one, like you’d use to pump water out of the basement sump without it draining back etc.
For ventilation in the tank, I just made up a labrynth box with a small muffin fan that pushed fresh air into the box, without letting in any light. It’s just a simple box with baffles in it to let the air snake through, but keep out any light.
Overall it worked great. At the time, there really wasn’t any DIY groups out there, except for maybe one guy selling plans off Yahoo and I wasn’t keen on his design or using a dishwasher pump that had to be rinsed out each time etc. So this is pretty much my design, if you want to call it that – since I did take design cues from the Samadhi tank.
It’s hard to believe it’s been 20 years since I built that one & now, I’m thinking of building another one of similar design, now that I have a lot more “tools” in my explorers toolbox as it were. I do miss being able to get right into Theta in a few minutes and the incredible opportunities that offers. I’ve been getting subtle messages from ECCO that I need to get back into one of these portals again…and the nearest float center to me is like an hour or more – and it’s just not the same as having your own and being able to float at 3AM – if you wanted to…
I’ll probably keep the same overall design as the first one I built and just make a few changes – mainly to the mechanicals/electrical components. I’ll most likely just use heating elements for in floor heating, under the liner instead of those unreliable waterbed heaters. The controller will most likely be an Inkbird or similar DIN type unit that can do PID control & instead of putting the temperature probe (most likely type K thermocouple) UNDER the liner, I’d put a saltwater impervious 416 stainless probe in the water instead. Not 100% sold on the radiant floor heating yet…Similar option would be those snow melting pads because they’re really well protected OR salt water aquarium heaters in the tank itself (I’ll have to get crafty about how I mount them as to not bolt through the liner creating a potential leak) – I’m not totally keen on them due to the electrocution potential (low but still possible), but we’ll see after some research.
More on the new build in a separate thread if there’s interest…I’m attaching a few pics (The only ones I could find) from circa 2006. One of the pics shows the tips of my socks laying in the tank with my little buddy looking in wondering why I made myself a dog crate ![]() He IS the good boy, by the way…I ran these thru AI to jack up the resolution because the originals were 320×240
He IS the good boy, by the way…I ran these thru AI to jack up the resolution because the originals were 320×240