My consultant gave feedback on CFROST version 2.
It has stated that the hard base is the riskiest concept.
It also has the most payoff – because you can change heaters without draining the tank!
I’m starting to think
- that the approach of the float-to-relax tank for housing an aztec radiant heating panel could be useful
- also – maybe we dont need a hard base. Can we get away with some other housing for the snow melting mat?
Responding to the question “Does heat transfer upward efficiently enough?” – we presume that the float-to-relax solved this problem.
the question “Does opening/closing the base leak heat catastrophically?” is not important because you only open/close the base for maintenance purposes which might be once every 6 months to 5 years.
The question “Does the base deform under ~1000 lbs + dynamic load?” manifested another idea in my head – why not make a “mini-tent” for the base using PVC piping or something? Why try to make a hard case? That case would have to be custom designed
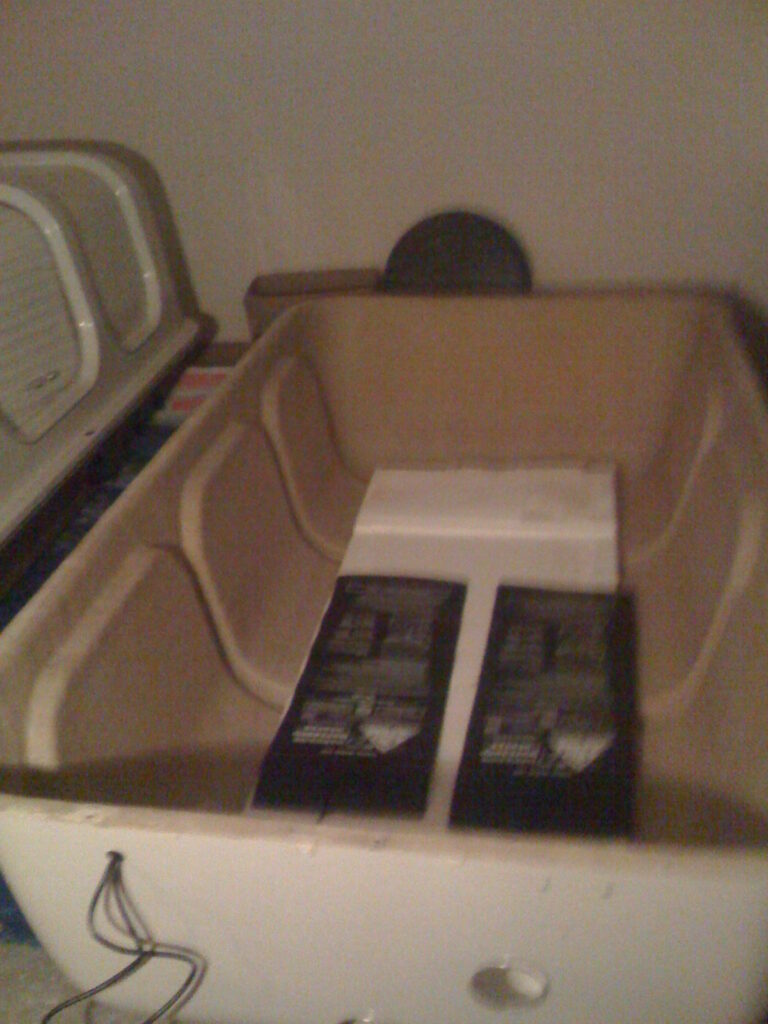
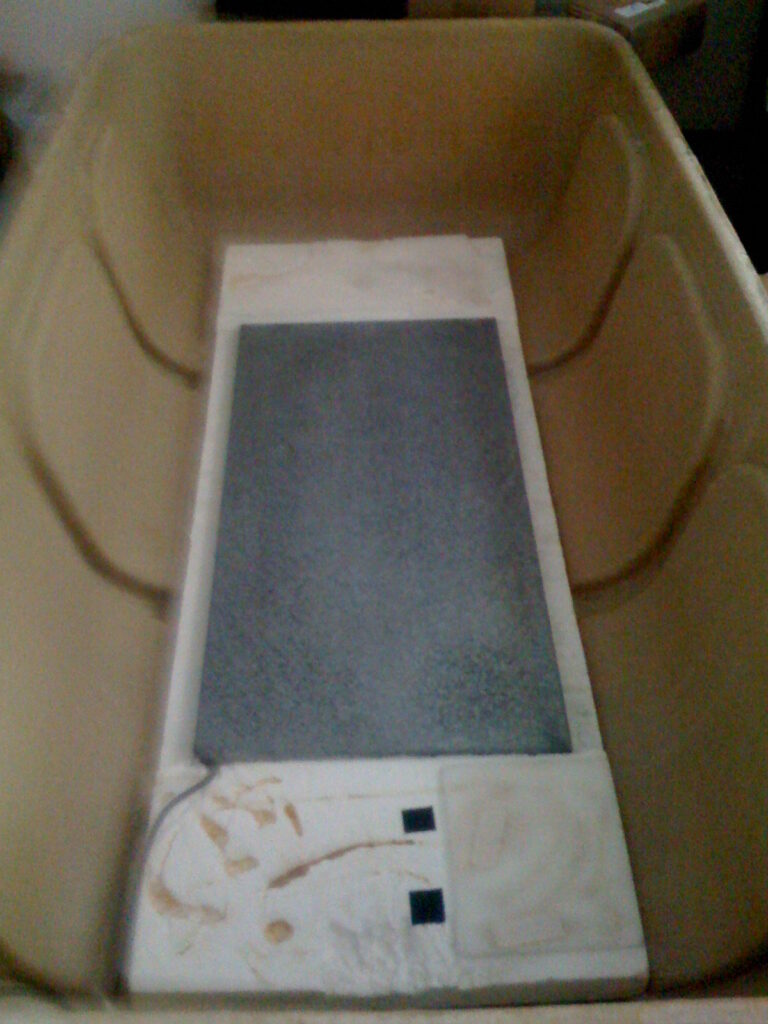
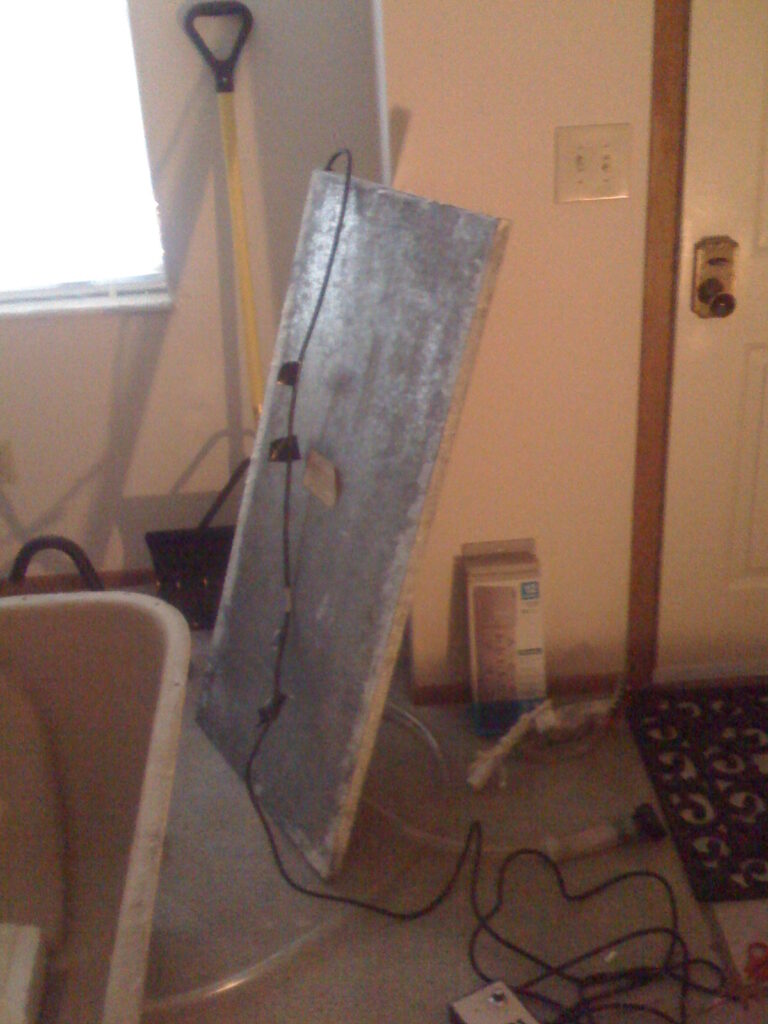
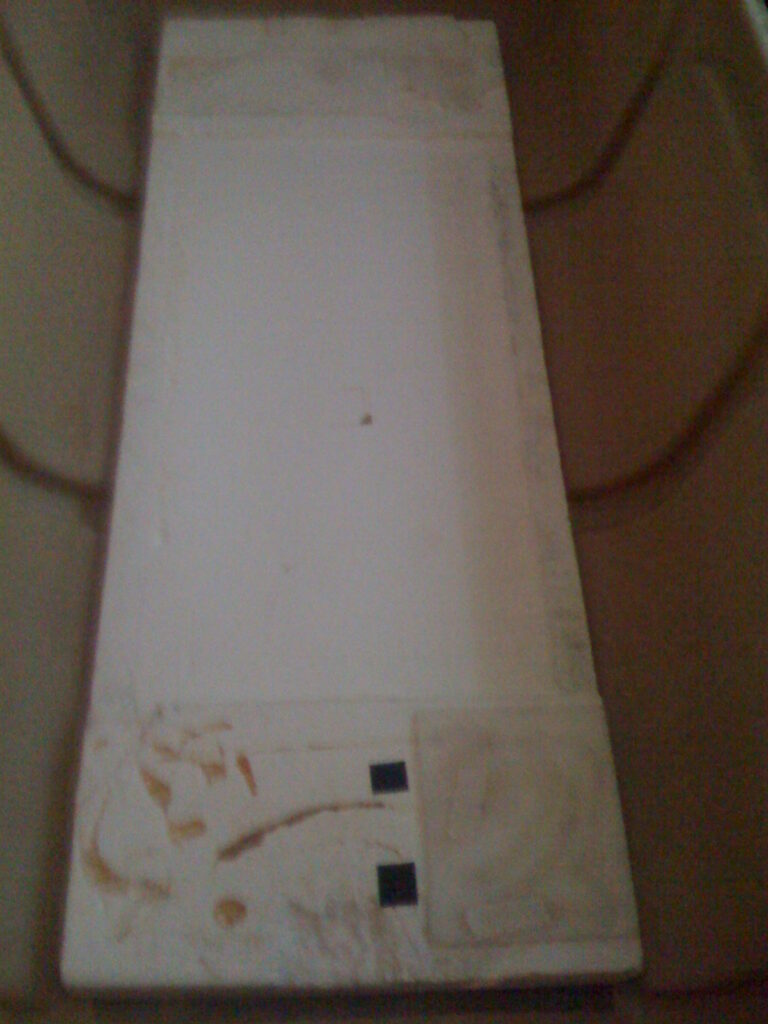
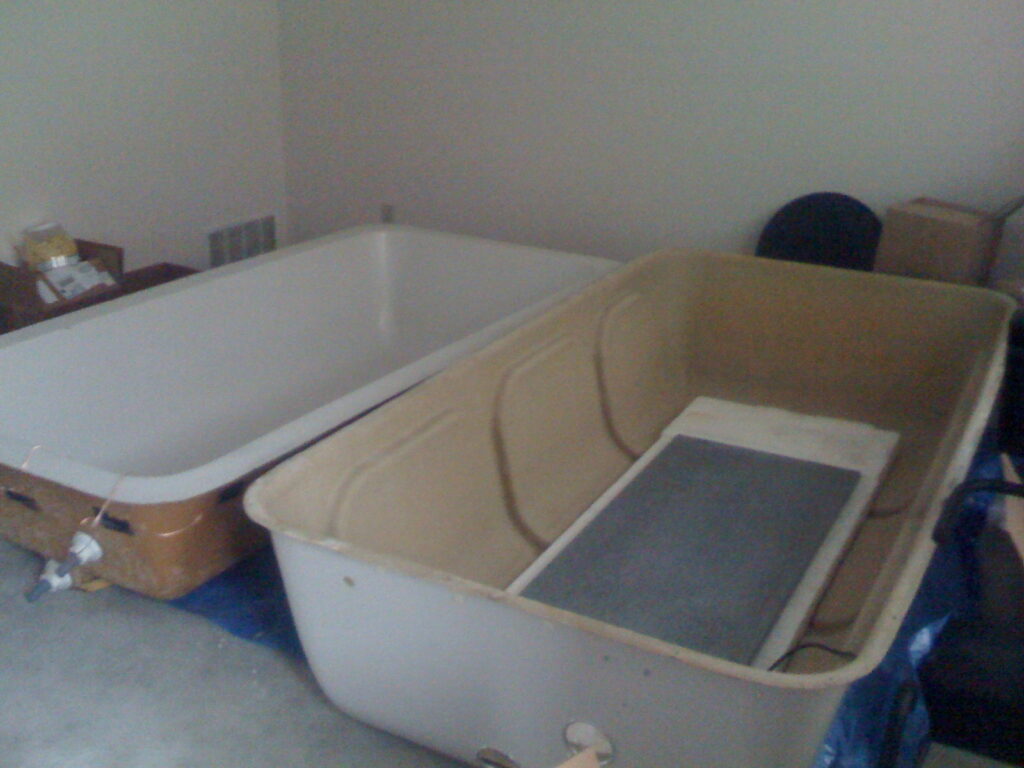
Researching the float-to-relax housing for the aztec radiant heating panel
- In looking through my photos of the float-to-relax tank, we learn:
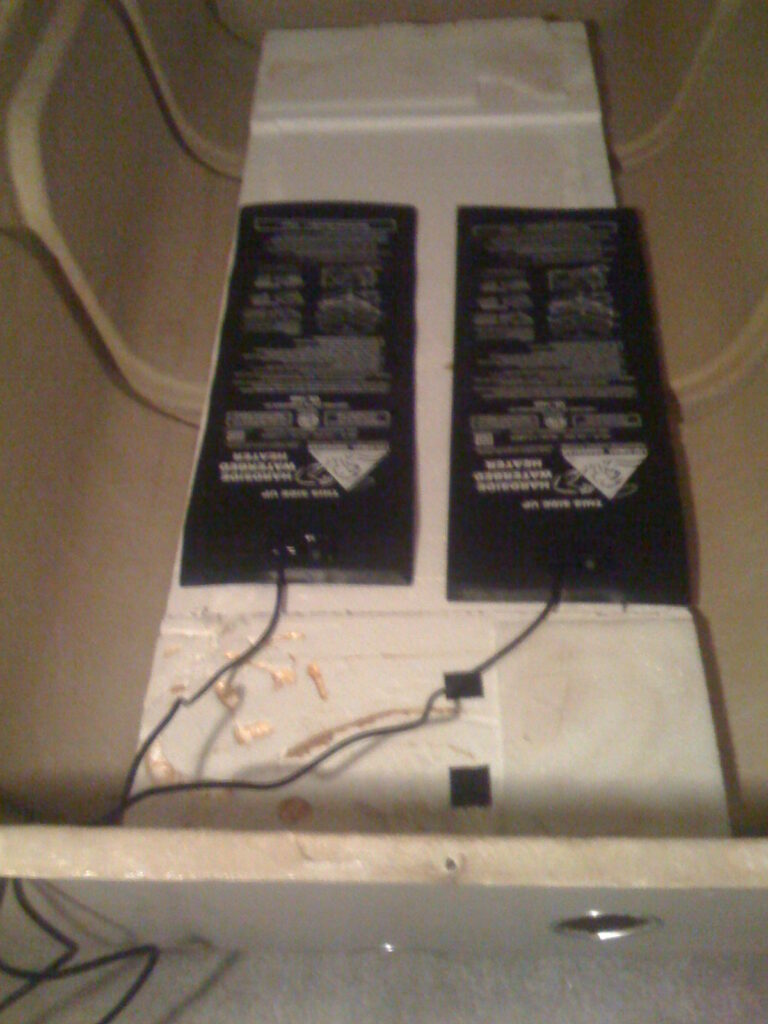
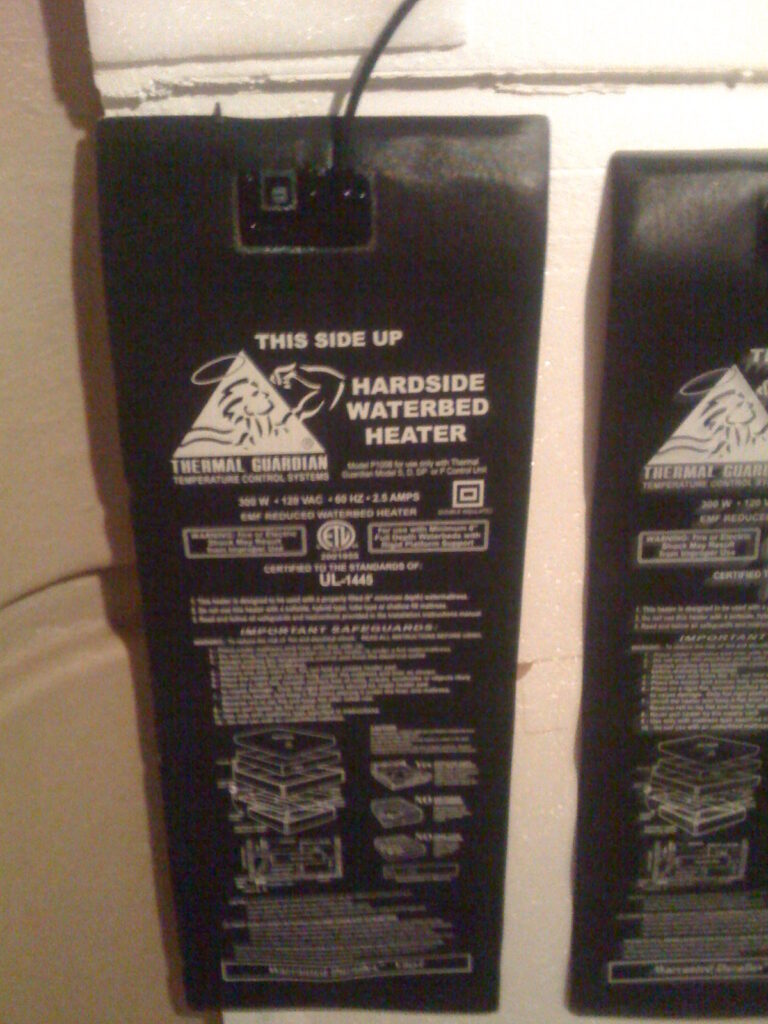
- * the float-to-relax did not need a custom hard base because the aztec heating panel was housed in solid metal. That made it resistant to weight and perhaps amplified/preserved the heat from the panel itself.
- it had styrofoam beneath it.
- the heating panel was inset – the styrofoam was raised on either side of it so that the weight of the tank was borne by the stryofoam not the metal heating panel
- basically the float-to-relax tank is two shells that simply fit on each other…
Why have a hard base when you have two tents – one for the heating element and another for the water container?
x
A hydraulic lift system is simplest
if the water container is designed so that the bottom of the container is 4 inches from the ground, then we can simply place the heating element on a platter and use some sort of simple lift system to raise it up to the bottom of the water container…… some sort of inflatable raft or similar under the heater that wont melt from the generated heat, yet allow us to raise it towards the tent for regular use and then simply deflate the little raft when we want to replace the heater.
My current mat
I have the smallest of the 3 available personal snow melting mats from Heat Trak:
- 24″ x 36″ (60.96 cm x 91.44 cm); Amps: 1.9
- 30″ x 48″ (76.2 cm x 121.92 cm); Amps: 3.2
- 40″ x 60″ (101.6 cm x 152.4 cm); Amps: 5.3
so i need an inflatable raft that will fit under it and allow me to raise and lower the mat to the water container. The raft can be much wider than the heating pad… just as long as it is not wider or longer than the water container. There should be several products on amazon that can be inflated… but how much heat are they resistant to?
The Water Container
Building the water container will require looping the pool liner over the frame piping. Duncan scott gave pictures of how he did this and described it.
I want to use plastic piping if possible to avoid corrosion. Where can I get piping to build the water container?
The frame is made from 27mm diameter aluminium poles and galvanised steel handrail connectors.
Galvanised steel will not rust from fresh water, but will rust if exposed to salt so I wrapped the connectors (and feet) at the front of the tent in PVC tape
Thermal stability
the inkbird water controller is the easiest to order and use. I think Neptune systems makes a more precise one. And of course Tom and FloatSNJ does the same thing using even higher grade equipment. Because I have an inkbird it will have to do… I think the thermal stability requirements can be relaxed a bit to conform to what the inkbird can do.
How did Duncan build the water container?
Now I need to go read Duncan’s description closely to see what exactly how he build his water container.
The water is held by two 1.5×2.2m intex rectangular framed pool liners. One liner inside the other ensures the tent is unlikely to ever leak. Buying spare liners is cheaper than buying them with the frames.
The liners have outlets for an external filtration and heating system which I sealed with plugs and bathroom silicone.
The liners are fixed to the frame using double sided velcro ties tied through slits made with a construction knife. The liner is reinforced with a strong fibreglass mesh and will not tear where it has been cut.
the consultant feedback on the raft idea is:
– Before buying anything inflatable, you need:
Material type (PVC, TPU, vinyl)
Max continuous temperature rating
The suggested mitigation is:
Put a thin aluminum or steel diffuser plate between mat and raft
spreads heat
drops peak temperature
An even simpler thing than the raft is to harrness the melting mat with straps and attach it to the same metal rods that are supporting the pool liner.
I think I’ve figured it out – just take an 8′ x 4′ piece of XPS styrofoam and punch some holes in it. Then run some rope through the holes and cinch the rope onto the water-container frame… of course the heating element is sandwiched between the styrofoam and the water container.
And the water container is engineering to have a resting height of 3-6 inches off the ground so we can strap in and strap off the stryofoam and heating system.