
Parts list
- 1 dowel rod – 5’x1/2″
- 1 drill bit that makes a hole large enough for the metal dowel rods
- 12 large plastic clamps
- a containment tank. I have an 8’x5′ 325 Gallon Poly Open Top Containment Tank … it needs to have a nice wide lip so you can drill in it.
- a tarp (10′ x 12′). The thicker and more heat-reflective the better. But I have just a medium weight one with no heat reflection.
- TARARIUM 660GPH Aquarium Fish Tank Filter – not ideal. A filter with 1500gph or 2300 to 2600gph aquarium/pond filter is preferred.
- Water heaters:
- A bucket heater for the initial heating of water to 140 deg F or hotter so that salt dissolves easily. These are not typically saltwater proof, so they only have use the first time you fill the tank.
- 1 1000w or 1300w AQQA submersible heater –
- Heattrak snow melting mats or Thermal Guardian waterbed heaters. If you get snow melting mats then you need a temperature controller – Inkbird is cheap and effective and can control 2 heating units.
- a drip mat of some sort. I like diatomaceous earth mats
- GFCI adapter
- An extension cord that allows you to control multiple plugs via independent switches. This makes it easy to turn on/off the heaters and filters in and under the tank. For those into passive heating, you can unplug one place to make sure everything is off before entering.
- 800 pounds of epsom salt.
- Battery acid hydrometer from an auto parts store.
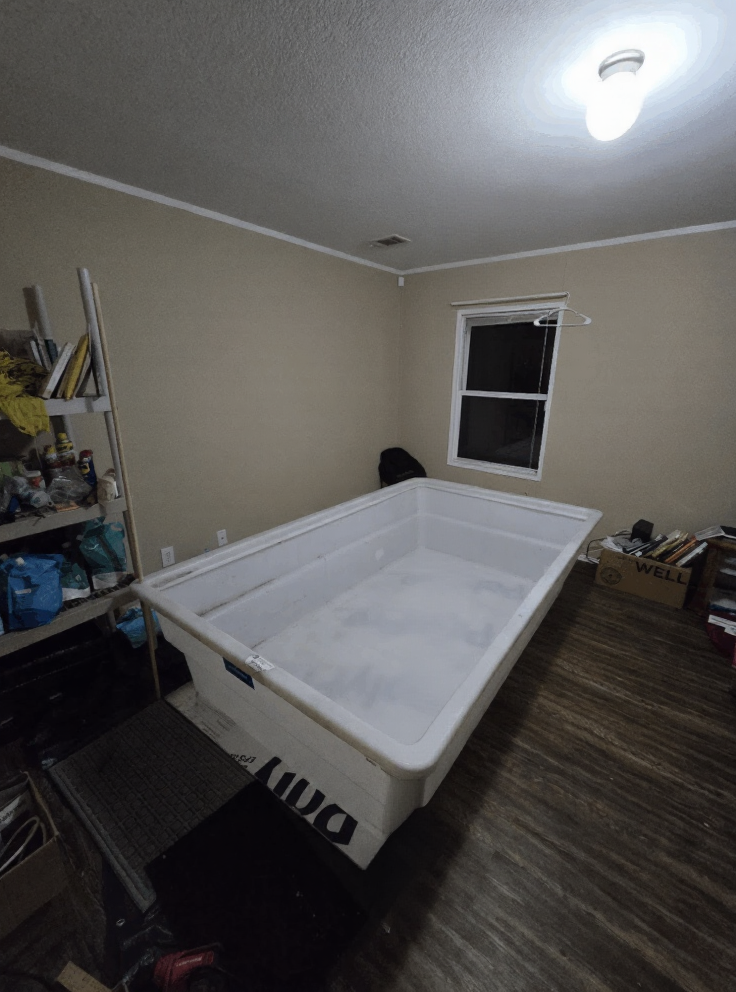
First things first – room considerations
- The room you put the tank in has to have a level floor. Use a tool to insure that the floor is level horizontally and vertically. I used a mobile app for this purpose, but hardware stores have devices for the same purpose.
- Make sure you can heat the room to 82 deg F
- Make sure you can reduce the light in the room
Next, put down insulation and your drip mats:
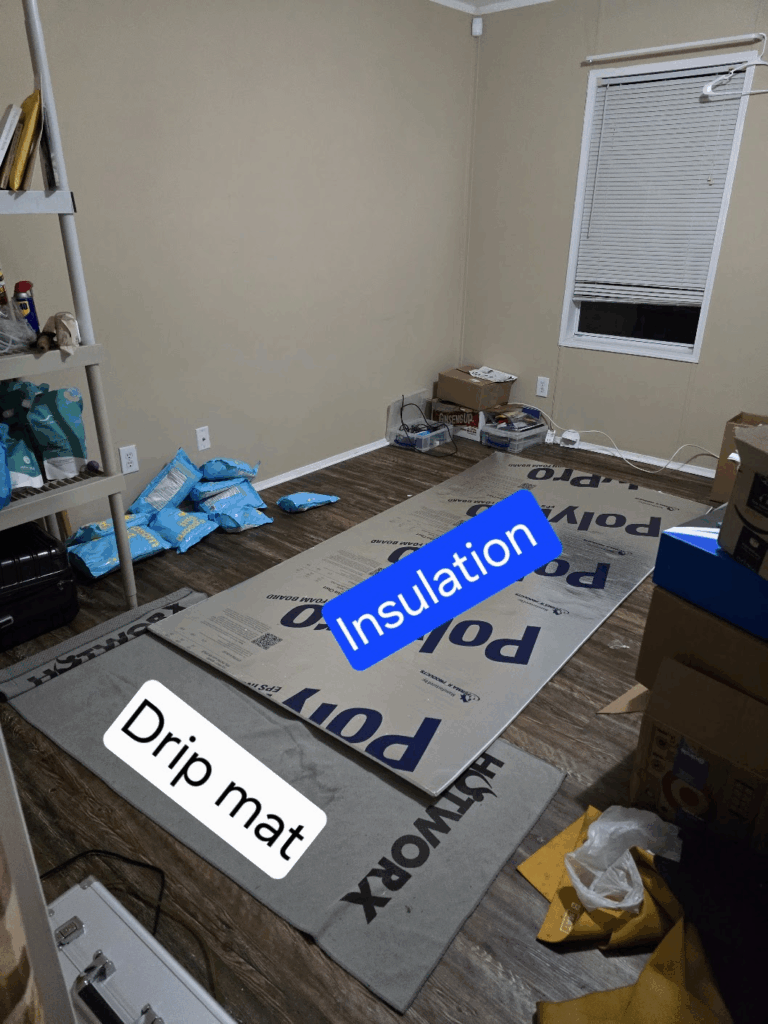
Then put down your under-tank heaters:
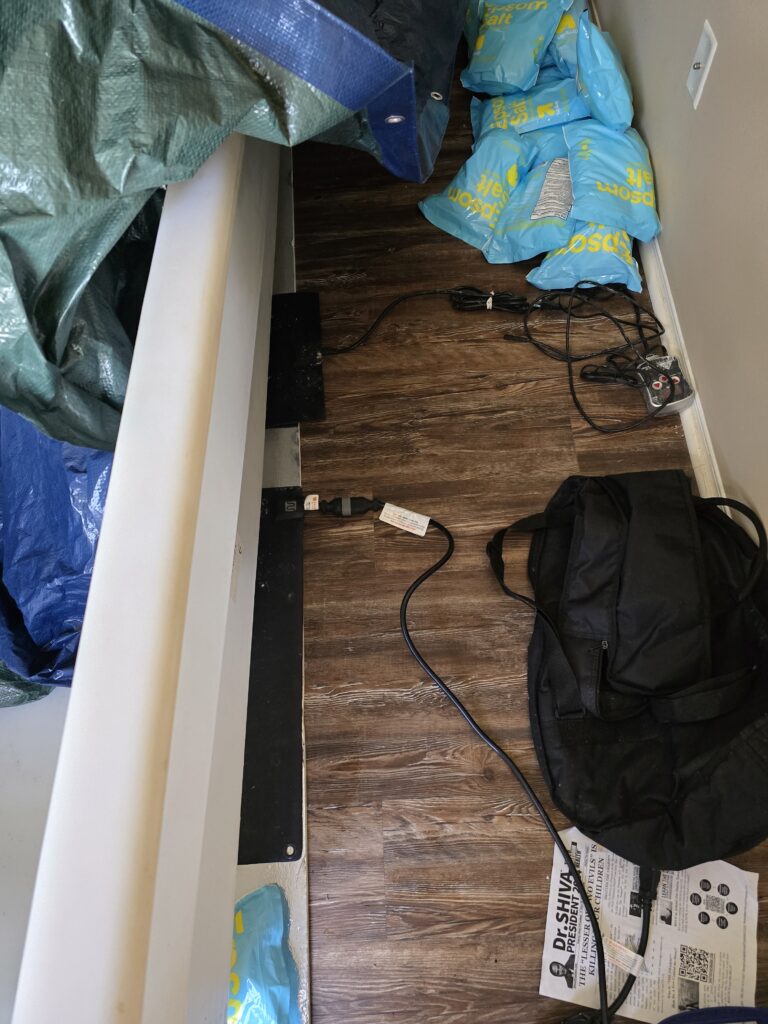
I think snow melting mats are the most amazing thing out there. But waterbed heaters held down the fort for many years before snow melting mats came into vogue. An inkbird temperature controller will work.
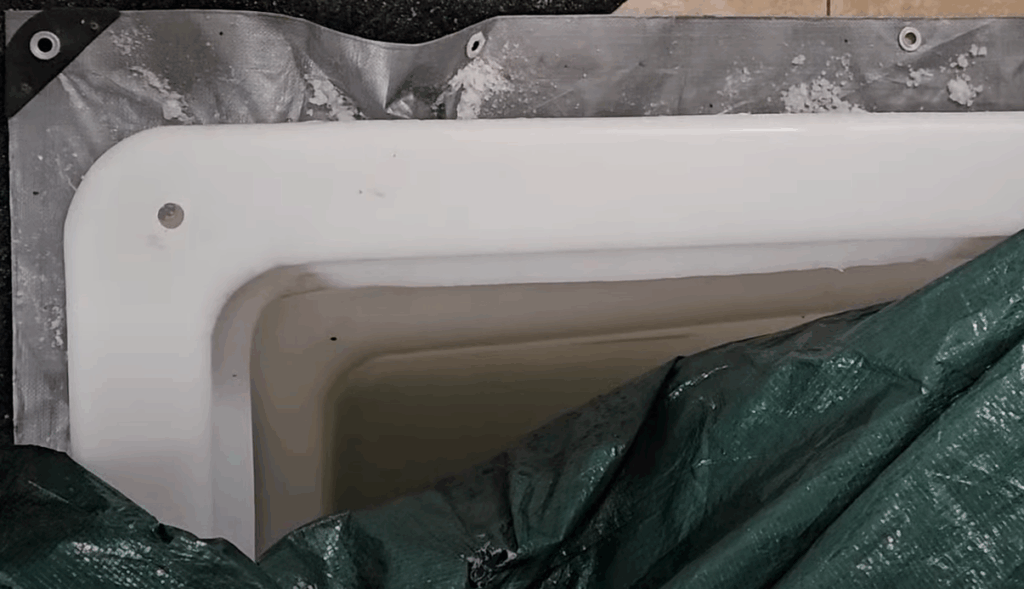
Put the containment tank on top of the heaters
the 8’x5′ containment tank must have a nice lip on it so that you can …
drill 2 holes large enough for the metal dowel rods to fit through
Use 1 dowel rod to raise the tarp
take 1 dowel rod and run it through a front hole in the lip of the tank so that the tarp is raised. Raising the tarp achieves two things. First it allows water to run off (like an Oasis tank) instead of droplets getting in your eyes. Second it provides more breathing room, which reduces claustrophobia and eliminates the occasional sense of suffocation I experienced in the Ragtop DIY tank.
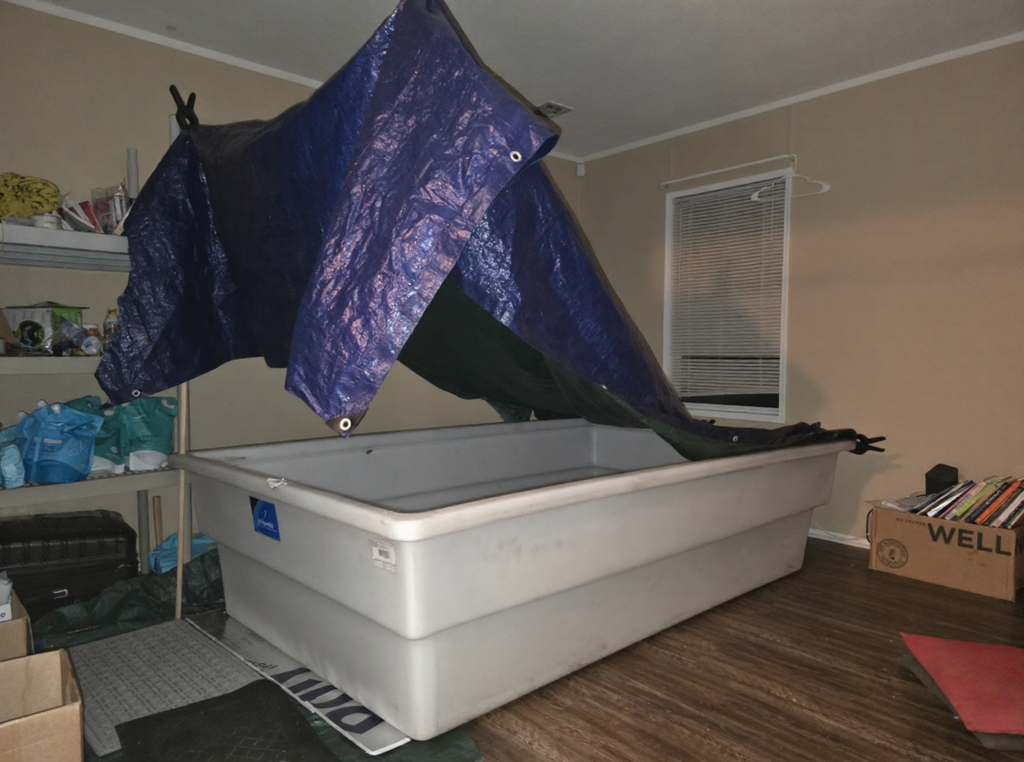
Use clamps to pull the tarp tight to the lip of the tank and to the dowel roads
In the ragtop DIY tank, the anchoring of the tarp to the tank created 2 implicit doors. Just after the ragtop, the Tarp Mahal was created. But I found that there was so much air space that it was “challenging” to heat… I would not say impossible and I really should not have been using such a thin tarp. But I did not spend much time trying to preserve/create more heat. I simply reduced the amount of air space above the water so that we could still meet our objectives of sliding condensation drops, more breathing room and less claustrophobia.
In the Leaning Tarp of Pisa, we again create 2 implicit doors simply by strategic location of clamps.
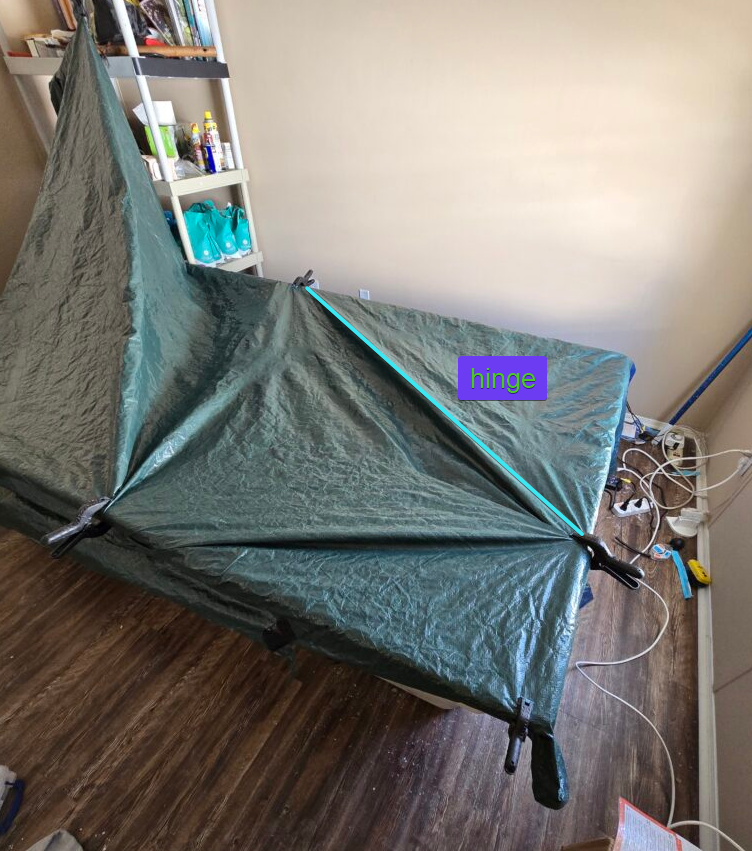
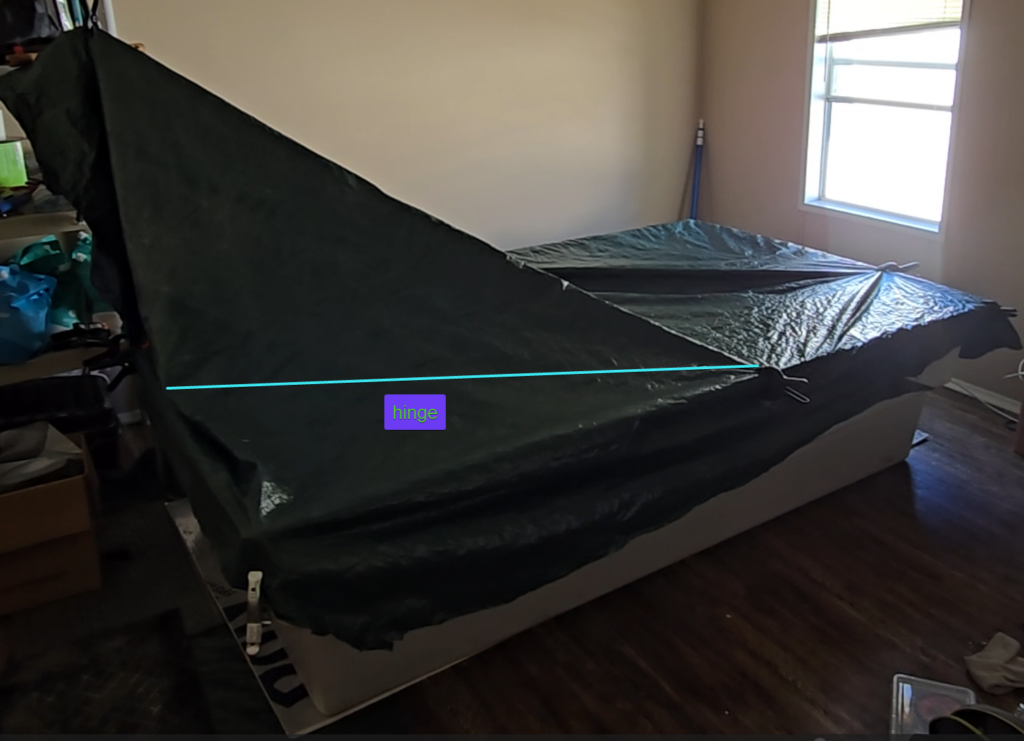
access your heater and filter via the bottom flap and enter/exit via the upper flap.
Place your aquarium/pond filter into the far corner of the tank
I’m using a TARARIUM 660GPH Aquarium Fish Tank Filter – not ideal. A filter with 1500gph or2300 to 2600gph aquarium/pond filter is preferred.
you might also have a submersible heater so you dont put a lot of strain on your under-tank heaters.
I use the submersible heater between floats to reduce the labor on the under-tank heaters.
Make sure to put the pump on a timer so you can circulate the water
as has been discussed elsewhere, the pump has 2 functions in an isolation tank.
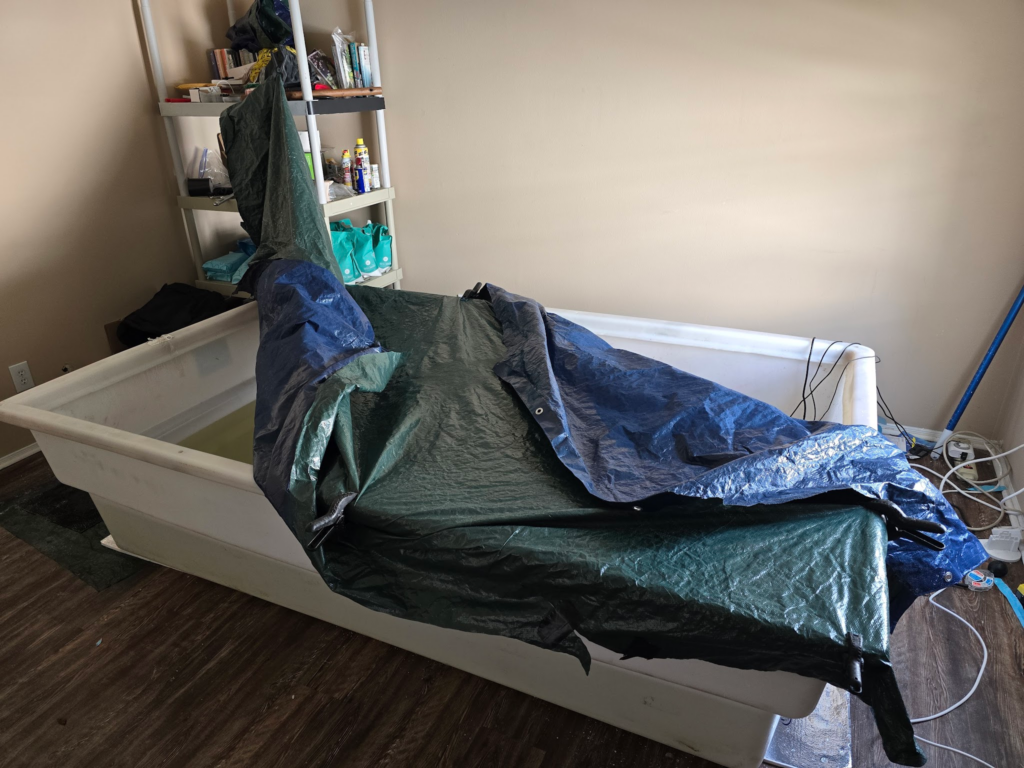
Now, add epsom salt water
from Chapter 11 in “The Deep Self”
- heat the water to 140 deg F – perhaps using a bucket heater. Note that most bucket heaters are good for pure water, not salt water. So they are fine for your initial feel
- put in the salt – it dissolves easily at this high temp
Happy Floating!
Well that’s all.
Now for a little history lesson
The ragtop DIY tank was built out of desperation. I was planning to redo the Black Beauty DIY tank but with a different containment tank. However the containment tanks they shipped me did not fit on top of each other. Plus, they were quite heavy. A saw tarp laying around and slapped it on one of the containment tanks. Thus, about 2 years ago the ragptop DIY tank was built and used in Pompano Beach, FL
The main issues with the ragtop were:
- the low roof led to low oxygen and claustrophobia
- the flat roof led to condensation popping you in the face.
Thus about 2 months ago, I started a design. The containment tank was the same but I created a slanted roof. The Tarp Mahal was born but had too much ceiling space: it was hard to control temperature. So I got rid of one of the poles and lo and behold, we have The Learning Tarp of Pisa – an evolution of the ragtop DIY tank via a brief detour into the Tarp Mahal DIY tank.