This post represents some first musings about the possibility of adding a rigid top to the ragtop DIY tank.
NOTE WELL: even though the pictures below show the styrofoam on top of the tarp, if you were to build this, then you would put the tarp on top of the styrofoam.
The next thing to note is that you want 1-inch of thicker styrofoam because thinner styrofoam is not very rigid. Also the thicker styrofoam has better insulation.
Now let’s explore the potential benefits of a rigid top:
- better insulation – stryofoam is probably a better insulator than a tarp
- no fear of a sagging top – the tarp top inevitably sags. I have reduced the sag in the pure ragtop design, but some is still there. But reducing tarp sag does not fix the underlying issue: condensed water droplets will be hitting your face and body instead of rolling off. Professional tanks deal with water droplets in these ways:
- they add heaters in the top of the tank to eliminate the possibility of condensation
- the slope the top of the tank so water runs down and away from the floater. The Oasis tank does this.
It goes without saying that once the room is the same temperature as the water, there will be no condensation.
The pictures show some musings I did with an 8’x4′ piece of Styrofoam. NOTE WELL: in all of these musings, it is expected that the Styrofoam goes flush onto the tank and the tarp goes ON TOP of the Stryofoam, even though the pictures show the Styrofoam on top of the tank:
Musing 1 – front-to-back Styrofoam
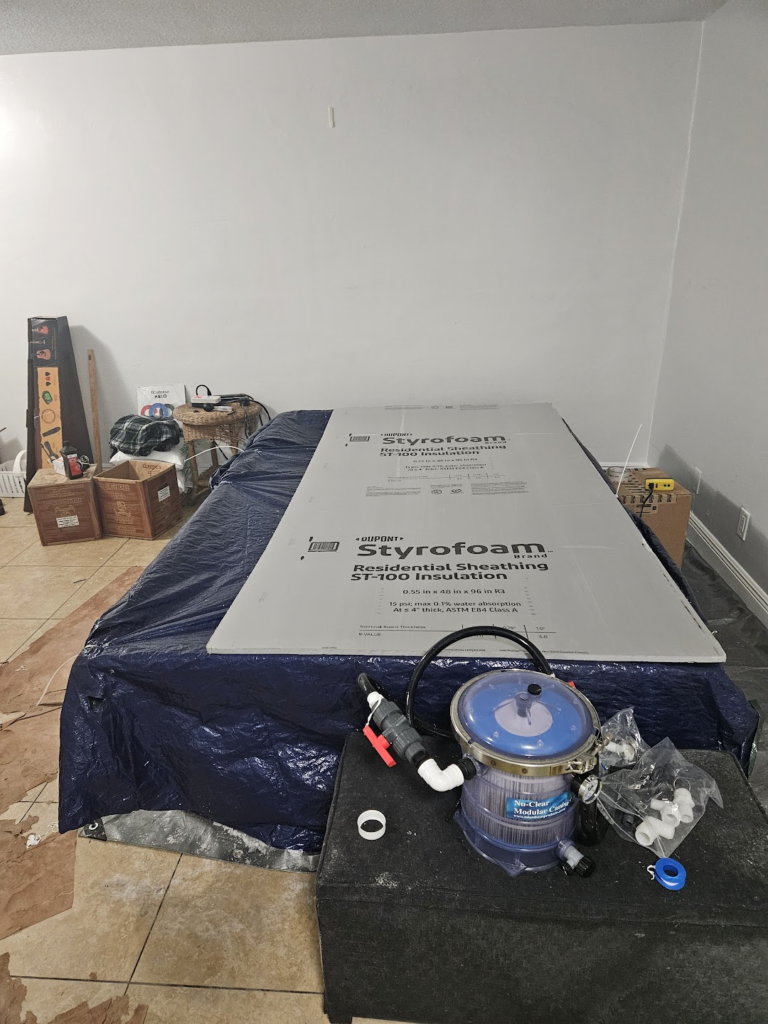
With this approach, the Styrofoam is anchored at all 4 of its corners. The tarp is anchored at those 4 places as well (and is on top of the Styrofoam, not below as this picture shows.. Then you simply raise and lower the left side of the tank for your various tank activities:
- floating
- adding and removing the heating system
- adding a removing the pump for filtration
- adding and removing salt.
Logic shows, however, that you only have 1 foot to work with: the tank is 5 feet wide and the styrofoam is 4 feet wide. You really need more like 2 feet or at least 18 inches of space to get yourself and various things in and out of the tank comfortably. So Move the styrofoam to the right about 18 inches to 2 feet and cut it so it’s flush with the lip of the tank. then Anchor all 4 positions, but with added space for ingress and egress.
Because the styrofoam is 8 feet long and the tank is 8 feet long, there will be some challenge with having enough length in the styrofoam to fit over the lip. But as long as you have holes in the plastic and the styrofoam, you can use the zip tie to keep the two connected.

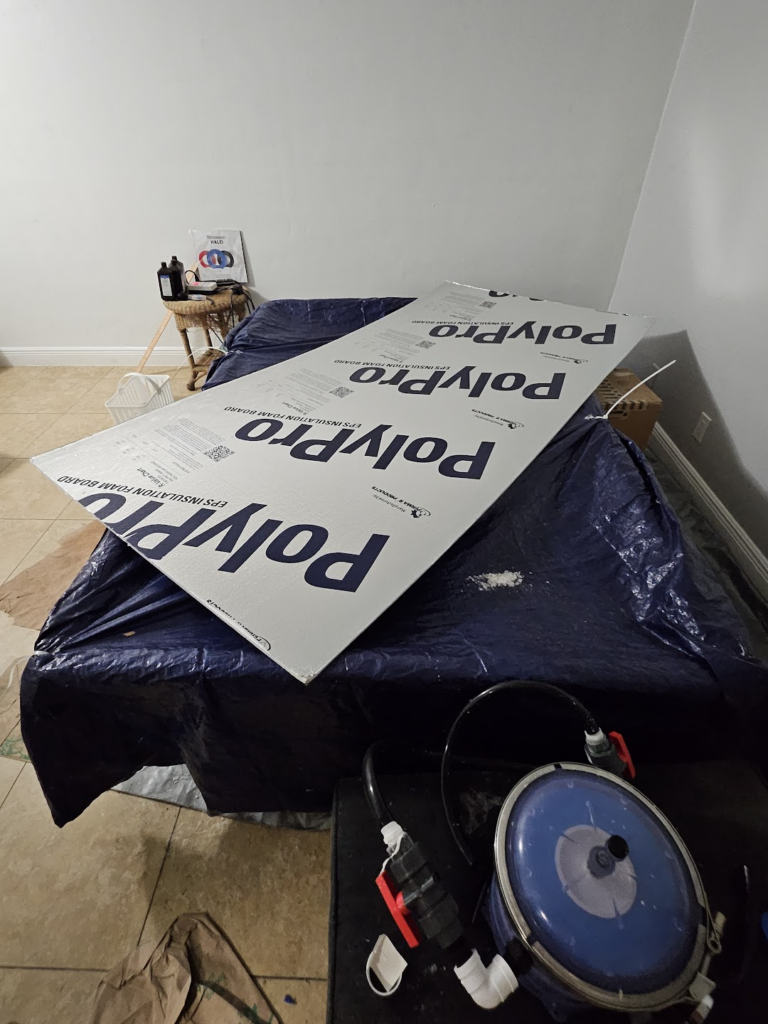
This photo is showing the styrofoam shifted to the right so that there is more room for ingress and egress.
Musing 2 – styrofoam in the middle

Here we put down the styrofoam. Cut the parts of styrofoam past the edge off. Then drill 4 holes in the styrofoam and anchor the tarp over the top of the styrofoam.
This will create easy entry and exit for the floater. And the large flaps make it easier to add salt or submersible pumps to and from the water.
The drawback of this design is that it is unanchored in both places at the front and both places at the back. This means that placing the tarp back correctly requires more focus: with a flap that is anchored, you can raise and lower it without a care.
Musing 3 – diagonal styrofoam
For completeness we show the styrofoam laid out diagonally. This does create 3 hingable flaps in contrast to 2 hingable flaps in any other design. This would allow one to have a flap for each thing that has to enter and exit:
- 1 flap for the heating element
- 1 flap for the mechanical filter and pump
- 1 flap for a submersible ozonator
A reflection
My personal vote goes for diagonal styrofoam for these reasons:
- you are not trying to get 8 feet of styrofoam to fit perfectly with the 8 foot length of the tank.
- It creates triangular flaps that are anchored on 2 sides. The other 2 designs create square flaps that are only anchored on 2 sides.
1 comment on Adding a rigid top to the ragtop DIY tank?